insert rows and columns in Excel files using Node.js
Microsoft Excel is one of the most widely used spreadsheet programs. Organizations store large amounts of data in Excel files, and manual editing can be time‑consuming. In this post we show how to insert rows and columns in Excel files programmatically using Node.js. Automating this task improves efficiency and gives your business a competitive edge.
The following points are covered:
- Insert rows and columns in Excel files using Node.js - API installation
- Insert multiple rows in Excel Worksheets Code Example
- Node.js library to insert columns in Excel Sheets
Insert rows and columns in Excel files using Node.js - API installation
We will use a powerful Node.js Excel library to insert rows and columns in an Excel sheet programmatically. Install it with these commands:
npm install java
npm install aspose.cells
Visit this link for detailed installation instructions.
Note: Place a source XLSX file in the project root directory to test the functionality.
Insert multiple rows in Excel Worksheets Code Example
This section walks through the steps and code needed to insert rows in an Excel file using Node.js.
- Create an object of the Cells class.
- Load an Excel file (e.g.,
sample.xlsx) by creating a WorkBook object. - Call the insertRows(rowIndex, totalRows, options) method to add rows at any position.
- Save the file with the save(fileName) method.
The code snippet below inserts multiple rows in an Excel worksheet.
The result is shown in the image below.
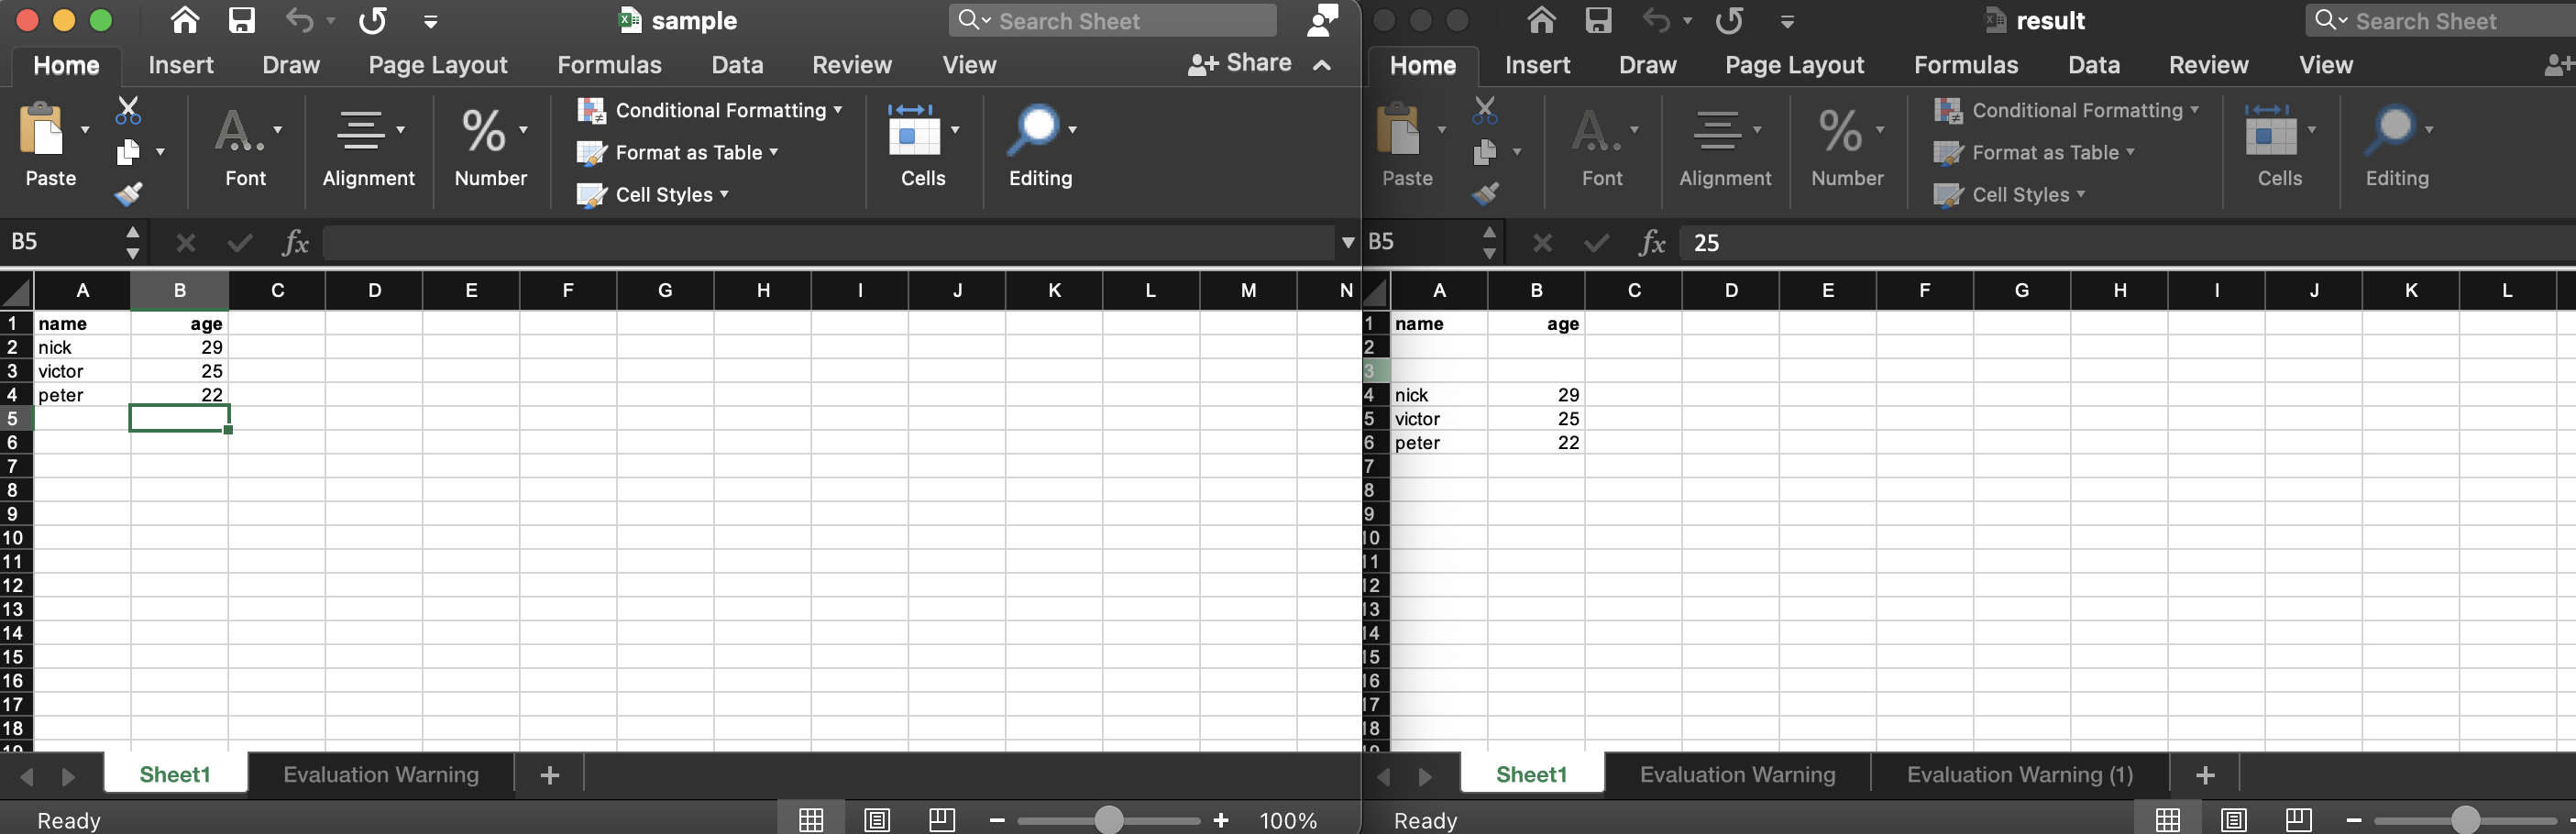
insert rows in an Excel file using Node.js
Node.js library to insert columns in Excel Sheets
The same Node.js Excel library also supports adding columns with simple code.
Steps to insert columns:
- Import and create a Cells object.
- Create a WorkBook object by loading an Excel file.
- Invoke the insertColumns(columnIndex, totalColumns) method to add columns.
- Use the save(fileName) method to write the file to the root directory.
Copy the code below to insert columns in an Excel file programmatically using Node.js.
Run the server and view the output shown in the image.
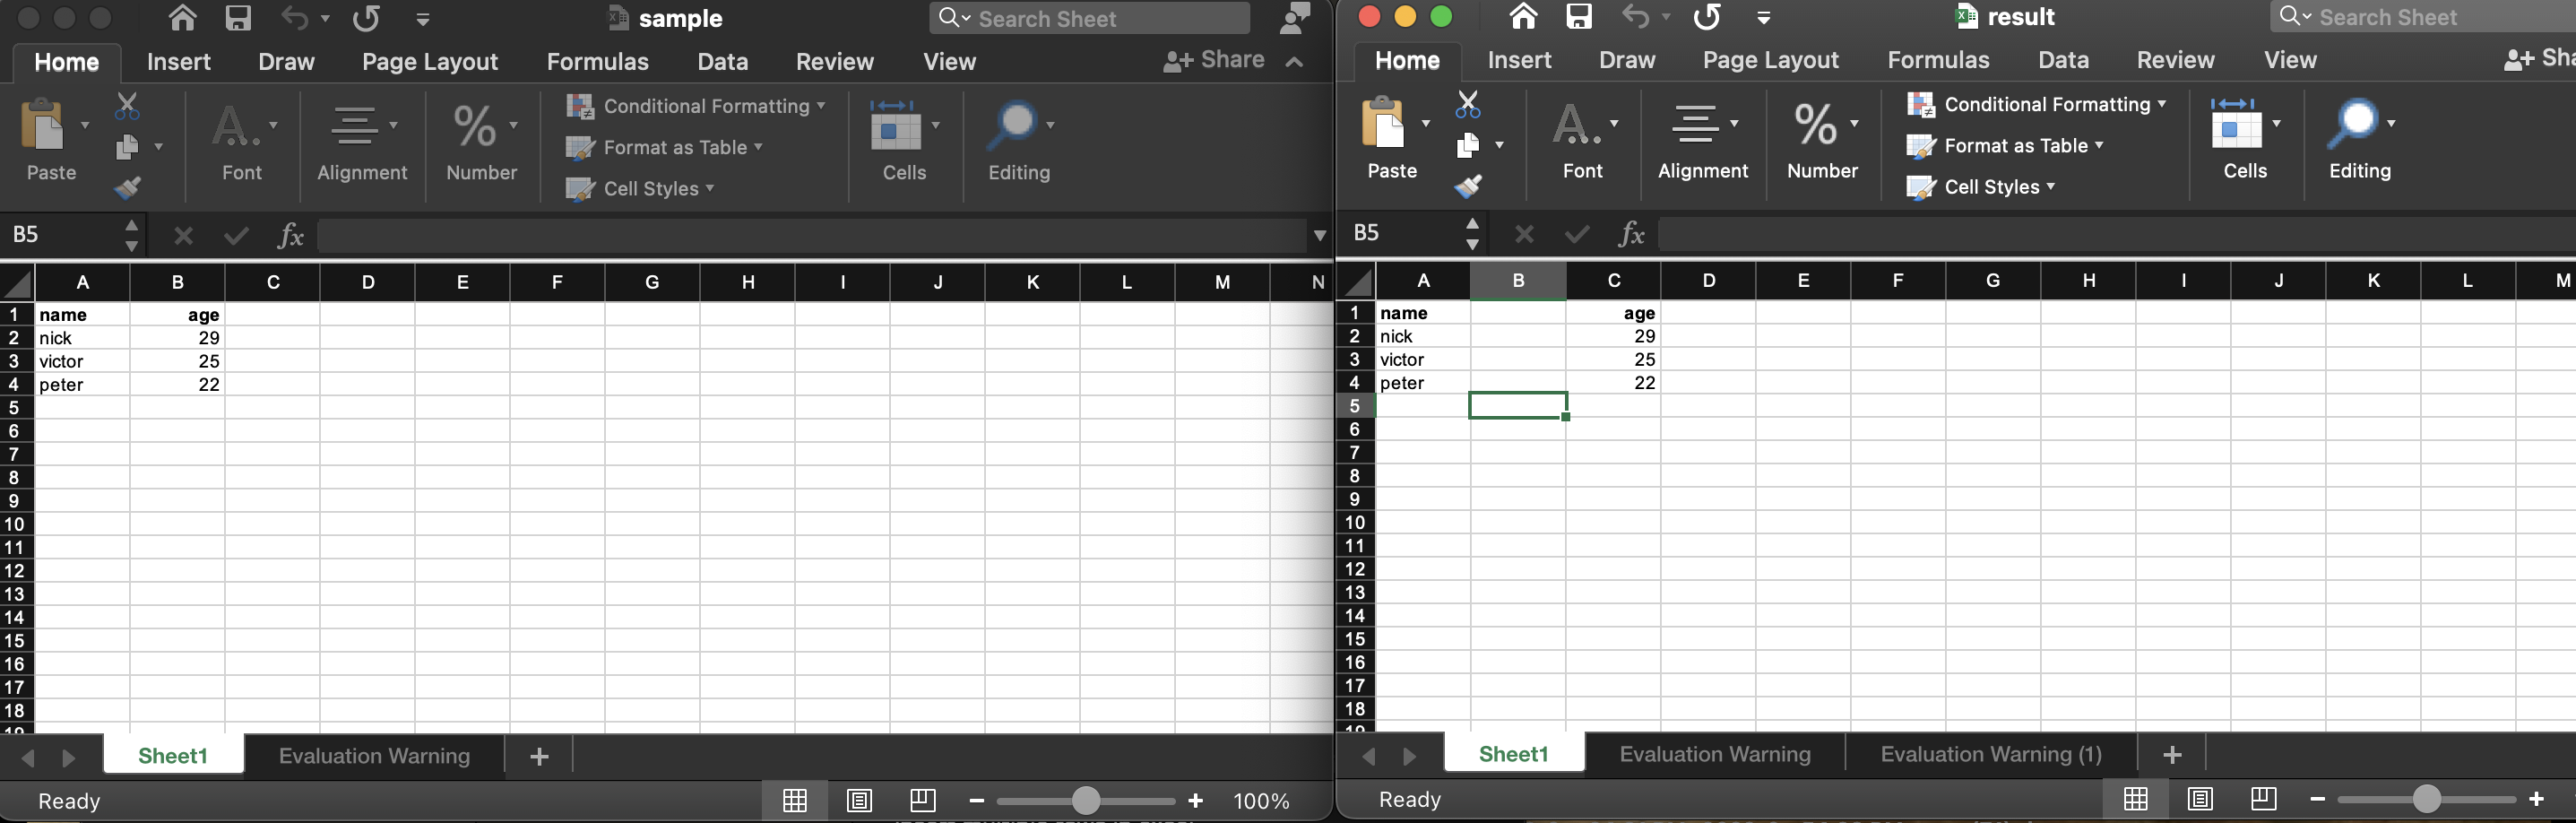
insert columns in an Excel File programmatically
Get a Free License
You can obtain a free temporary license to use Aspose.Cells for Node.js without evaluation limits.
Conclusion
This post demonstrated how to insert rows and columns in Excel files using Node.js. Explore the documentation for more features of Aspose.Cells for Node.js. Stay tuned to conholdate.com for future updates.
Ask a question
If you have any questions, please post them on the forum.